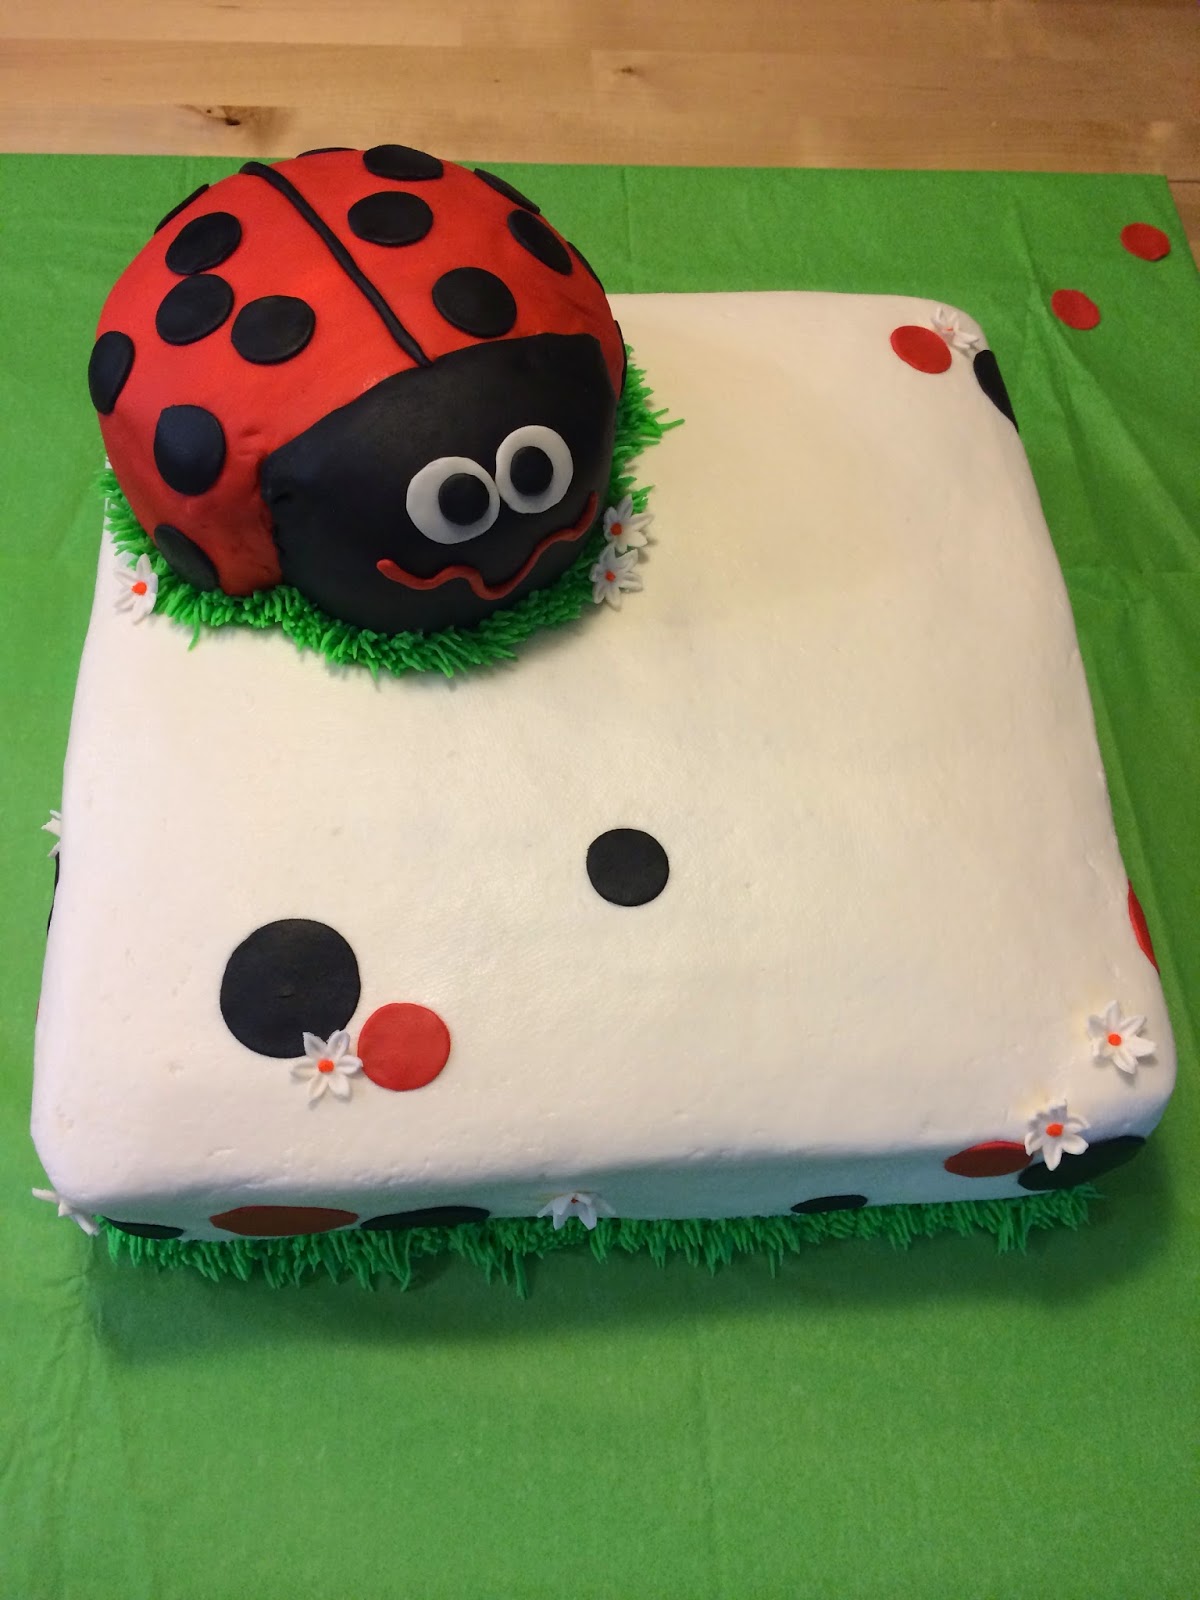
I started to make the fondant flowers Tuesday. They took about 20 minutes. Next, I made the frosting on Wednesday. That took about a half hour. I made two batches of the vanilla buttercream I usually use for my cake projects. Thursday night I baked the cake. Two 12"x12" square cakes for the main cake and two 6"x6" circles for the ladybug. On Friday, I frosted the cakes and made the ladybug. The cake is very plain before all the details are added.
I used one of the 6"x6" circles and covered it with buttercream frosting and red fondant. I added the black fondant for the head and the other details to complete the centerpiece. It took me about three hours to frost and make the ladybug.
I am happy to say that Saturday I got to do the fun part of putting it all together and throwing on the finishing touches. It took me an hour to do the grass detail around the cake bottom, attach the flowers and the circles, put the ladybug on top and finish it off with a message.
The finished cake with the flower petals that I decided to add on last minute. I never took a picture with the writing on top of the cake.
I am glad I split up the cake over the course of a week. It wasn't nearly as tedious doing it this way. I will be using this method from now on.
I heard the birthday girl enjoyed her cake. Happy Birthday to Sadie! She is a cutie.


